CREATION OF AN ANKLE-FOOT ORTHOSIS (AFO)
INTRO TO PROSTHETICS & ORTHOTICS
Objective: The goal of this project was to create an AFO for a classmate by following the steps that a clinical orthotist would take. These steps comprised of AFO casting, cast-filling, plaster-cast removal, smoothing plaster model, thermoforming with plastic, trimming and shaping, and fitting/forming the AFO.
Key Features:
-
Custom shape for patient's leg
-
Holes for breathability
-
Velcro straps for adjustability
PROCESS
CASTING & CAST-FILLING
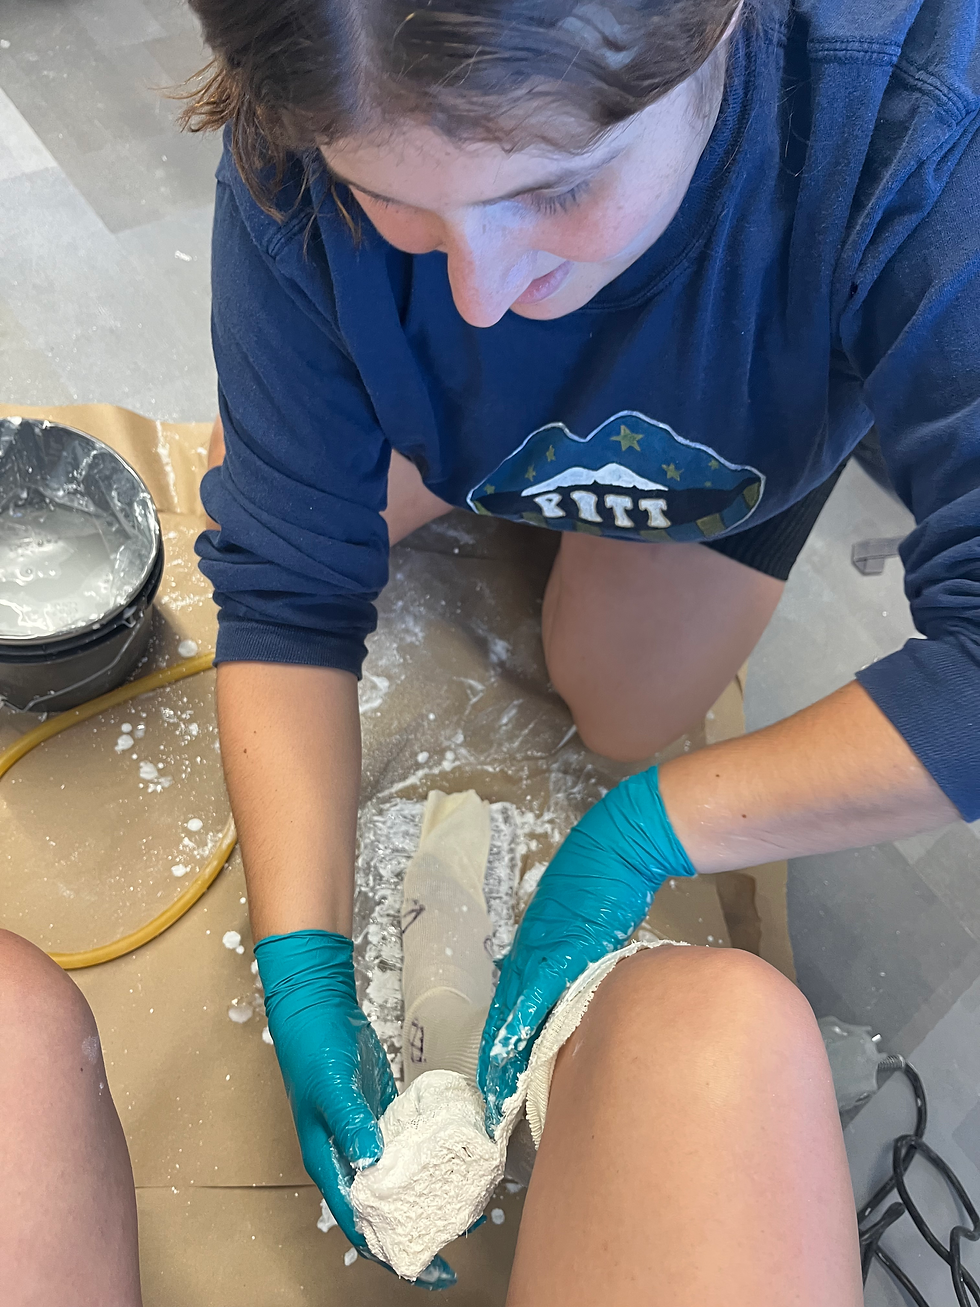
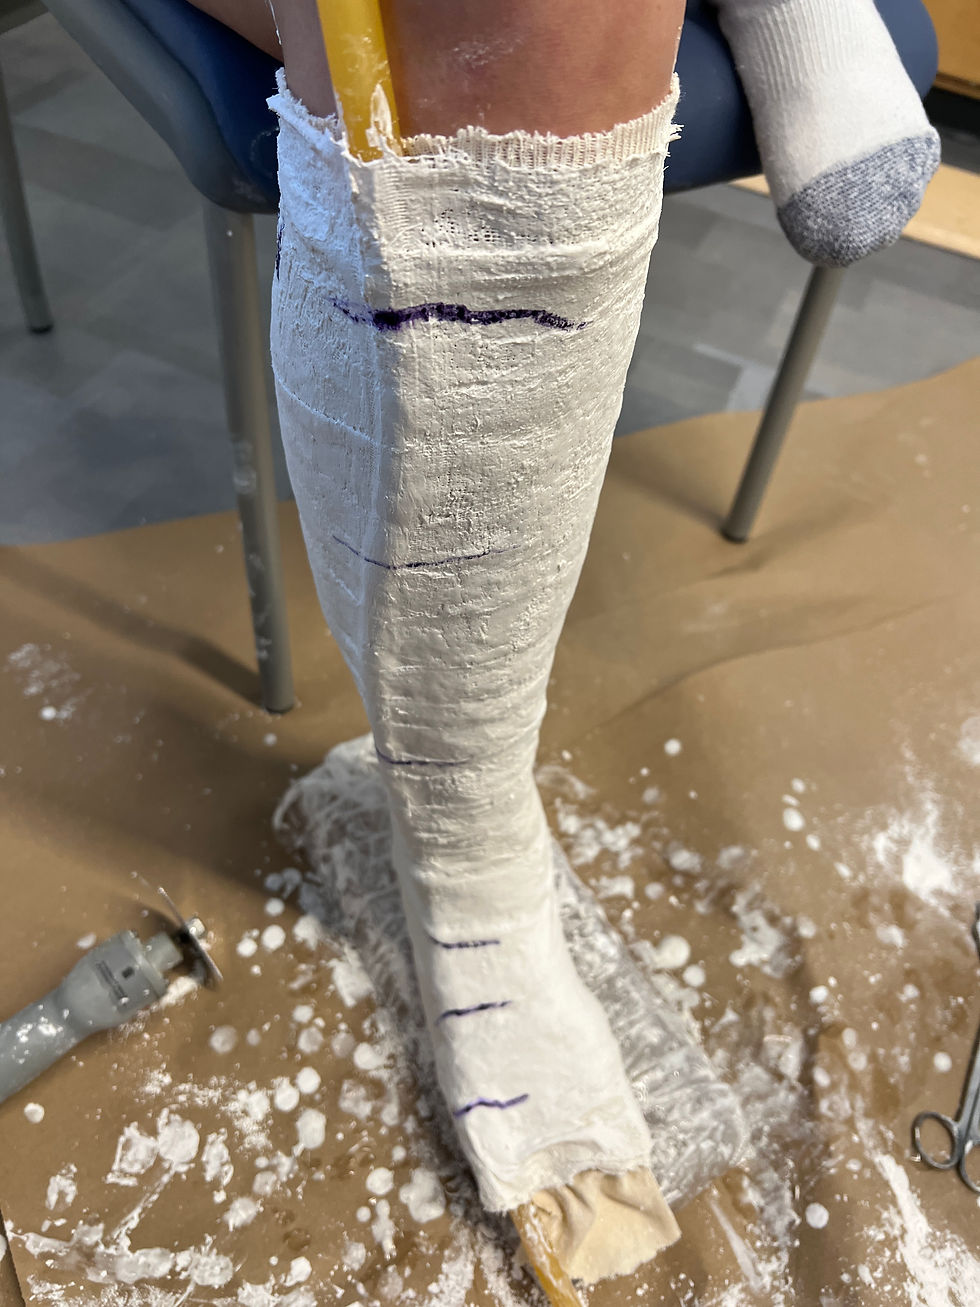
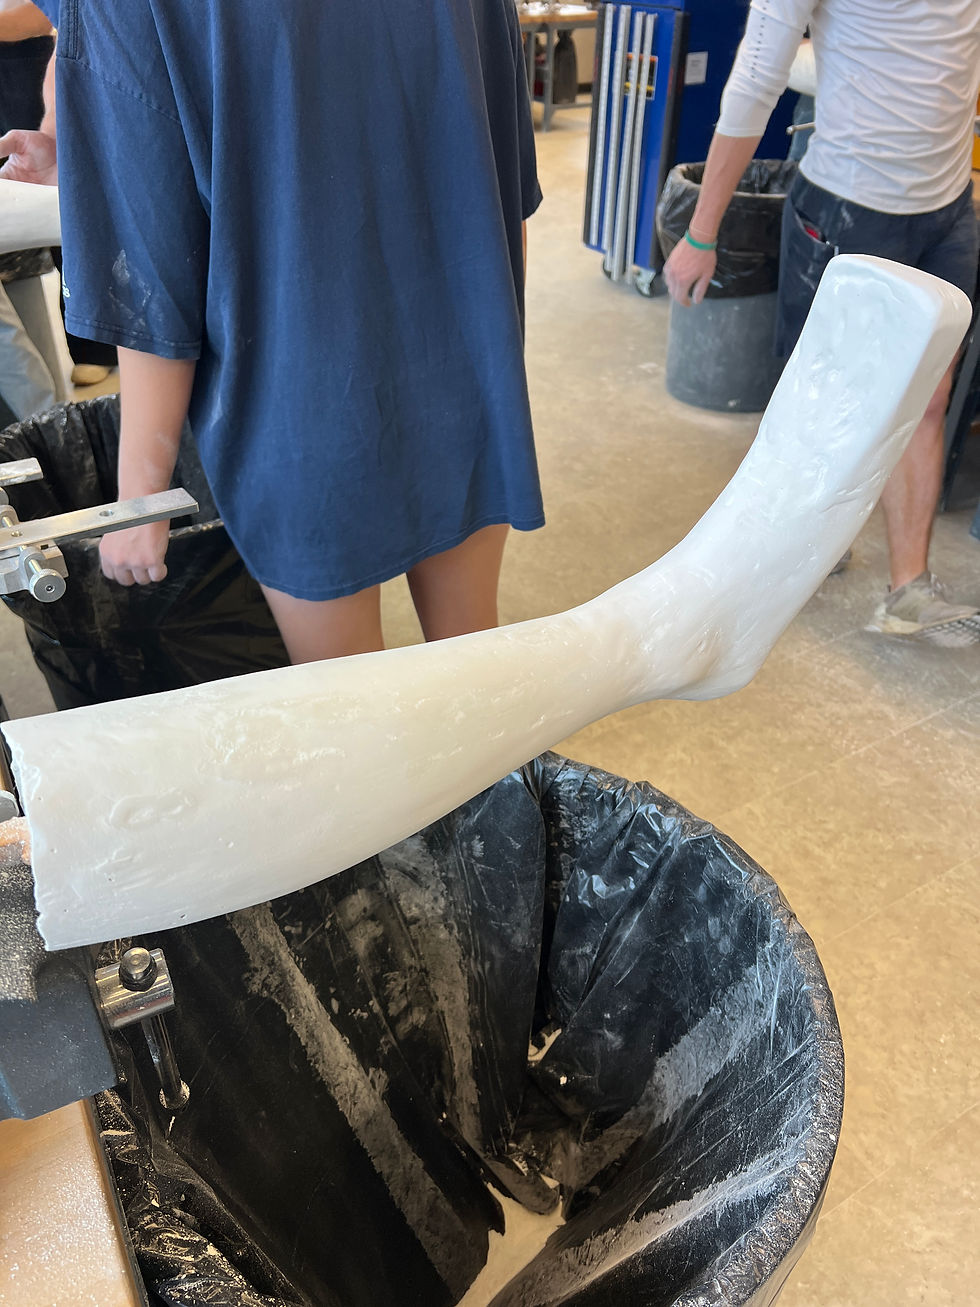
To begin the creation of an AFO, a negative mold must first be created. To start, one should first put a liner, or some type of lubrication (such as Vaseline), on the patient's leg. Have the patient take a seat and place their leg at a 90 degree angle, making sure to prop the heal up slightly to imitate the heel raise in shoes. The patient will assist the clinician by holding a rubber tube along the outer edge of the leg so that the negative model can be removed in the future. Lastly before the wrapping process, make sure to use a specific colored pencil to mark the malleoli and other important landmarks on the person. Then, take the plaster wrap roll and dip it into a bucket of cold water and gently squeeze to remove excess liquid. Beginning at the top of the calf, wrap around approximately 3 times before descending to the rest of the leg. With plaster wrap, one should make sure to have about 3/4 overlap of each layer. Likely, one will use at least one roll of plaster cloth wrap to cover the lower leg/calf region, and another roll to wrap the foot and ankle. Wrapping the ankle and heel are some of the trickier spots when creating a negative model. After wrapping is complete, let the plaster set and wait until it is dry. Make sure to draw some horizontal lines perpendicular to the line you will cut. Once dry, the clinician will use an electric orthopedic cast cutter tool to remove this negative model, specifically cutting along the protrusion caused by the rubber tube. After cutting this off, one can forcefully remove the cast, and then will staple it back together so that a positive model can then be created. The positive mold is created by creating a plaster mix, using water and plaster powder, and pouring this mixture into the negative mold of the patient's leg.


SMOOTHING PLASTER MODEL
To smooth the positive plaster model, I used filing tools to remove the originally rough outer surface. This process took several hours to complete. In the midst of smoothing, I also added a "toe box" to my model to allow for additional room around the patient's toes. I then followed the same process to smooth out this region.
THERMOFORMING & SHAPING THE PLASTIC
Upon completion of model smoothing, it is time to thermoform the model with plastic. This plastic is cut with patient-specific dimensions, and is heated to a temperature that turns it from a solid to a gel-like, semi-solid substance. With the assistance of a certified orthotist, I quickly wrapped the hot plastic around my model, and turned on the vacuum so that it would vacuum mold the plastic.
After the plastic cooled off and hardened back into its solid state, I cut the plastic into the general shape I wanted, destroying the plaster model in the process. I then used sanding machines to smooth out the plastic model into the exact shape necessary for the patient.
 Smoothing, shaping, and trimming the final orthosis |  Thermoforming the plastic onto the plaster mold |
|---|---|
 Close up of the thermoformed plastic |


